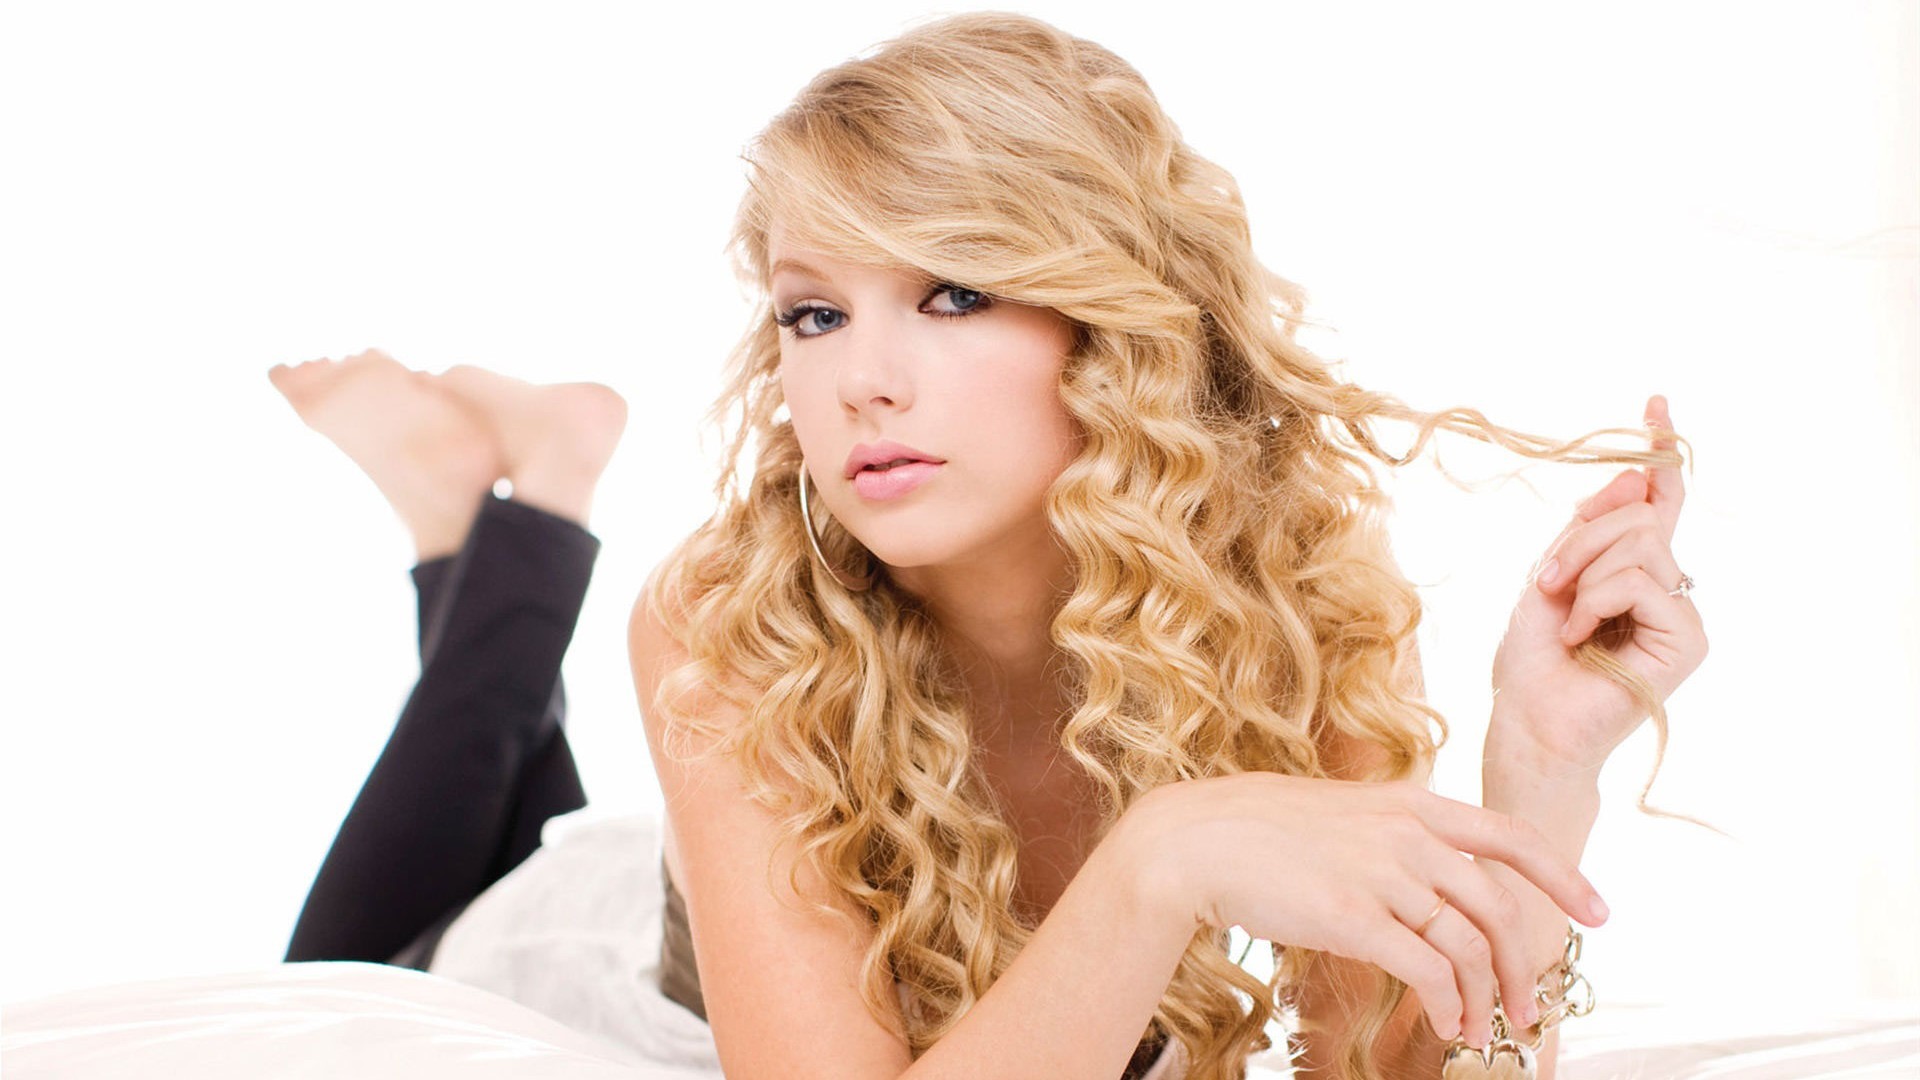
Taylor Swift’s curly hair is more than just a hairstyle; it’s a defining part of her image that fans and fashion enthusiasts alike have come to adore. Achieving Taylor’s curly look is a fantastic way to add a bit of star quality to your style, and it’s easier than you might think. This comprehensive guide will walk you through every step of the process, making sure you can capture that Swift magic, no matter your hair type.
Taylor Swift’s Curly Hair: An Overview
Over the years, Taylor Swift’s hair has become almost as famous as her music. From tight curls in her country days to looser, wavy styles more recently, her hair has evolved while remaining distinctly ‘Taylor Swift.’ Whether you’re drawn to her early, bouncy curls or her more relaxed waves, this guide will help you achieve that look.
This post contains affiliate links, which means I may receive a small commission, at no cost to you, if you make a purchase through a link.
Step 1: Getting Started
The Right Haircut
First things first: the haircut. For those with naturally curly hair, ask your hairdresser for layers. This will help give your hair that bouncy, full look that Taylor Swift often sports. If your hair is straight, don’t worry! Long layers can also make it easier to style your hair into curls later on.
Moisturize, Moisturize, Moisturize
Curly hair needs moisture to look its best. Start with a good, hydrating shampoo and conditioner. A brand like Moroccanoil offers products specifically for this, helping to give your hair the moisture it needs.
Step 2: Making the Curls
If You Have Natural Curls
For those lucky enough to have natural curls, you’ll want to enhance what you’ve got. After washing your hair, use a product designed for curls, like the Bumble and Bumble Curl Defining Cream. This will help your curls stay defined and beautiful.
Creating Curls
If you’re starting with straight hair, you’ll need a curling iron. The BaBylissPRO Nano Titanium Spring Curling Iron is a great choice. The size of the curling iron’s barrel will affect how your curls look – smaller barrels for tighter curls, and larger ones for looser waves.
Step 3: Styling the Curls
Drying Your Hair
How you dry your hair is important. If you have natural curls, letting your hair air dry is usually the best option. If you’re in a rush, use a hairdryer with a diffuser attachment. This helps dry your hair without messing up your curls.
Using a Curling Iron
For those using a curling iron, work in small sections. This will help you get more defined curls. Remember to curl your hair in different directions for a more natural look. Protect your hair from the heat with a product like the TRESemmé Thermal Creations Heat Tamer Spray.
Step 4: Final Touches
Setting Your Curls
Once you’re happy with your curls, you’ll want to make sure they stay in place. A light hairspray, like L’Oréal Paris Elnett Satin Hairspray, works well. It’ll keep your curls looking great without making them stiff or sticky.
Adding Shine
Finish off with a bit of shine. A spray like Kenra Shine Spray will give your curls a glossy, healthy look, just like Taylor Swift’s.
Tips and Tricks
1. Be Gentle with Your Curls
When you’re styling your hair, it’s important to be gentle. Rough handling can make curls frizzy.
2. Embrace the Frizz
A little bit of frizz can actually make your curls look more natural and relaxed, just like Taylor Swift’s curly hair.
3. Experiment with Products
Different products work better for different hair types. Don’t be afraid to try new things until you find what works best for you.
4. Regular Trims
Keep your hair looking its best with regular trims. This helps prevent split ends, which can make your hair look frizzy.
5. Sleep on Silk
Consider using a silk pillowcase. It can help reduce frizz and keep your curls looking great.
Conclusion
Achieving Taylor Swift’s curly hair is a fun way to change up your look. Whether you’re a lifelong fan or just love the style, following these steps will help you get those beautiful, Swift-inspired curls. Remember, the key is to find what works for your hair and to have fun with it. So, embrace your inner Taylor Swift and let those curls shine!


Leave a Reply